Oracular Arts and Crafts: Making Clay Runes, Part 2
The first part of this creative adventure, in which I play with clay and manage not to destroy my kitchen, can be read here.
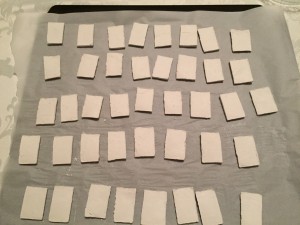
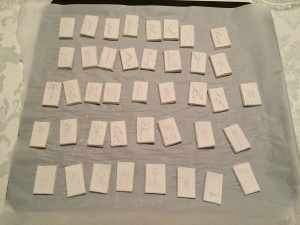
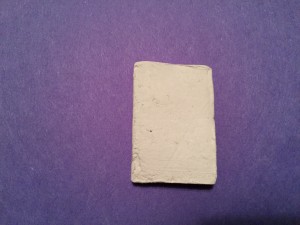
I’ve managed to leave the runes alone for 24 hours to dry. I turned them over after 16 hours, as the fronts were dry to the touch, but the backs were still visibly damp (the color difference between wet clay and dry clay is noticeable–the wet clay is somewhat grayish, and the dry clay is more white).
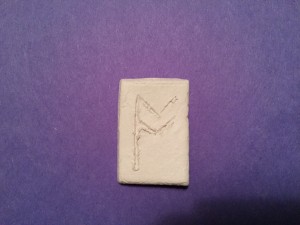
So now, they look like this:
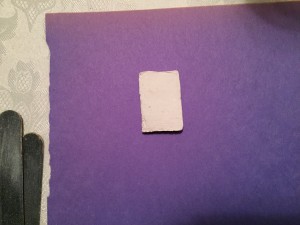
The edges are ragged, although not rough to the touch. Still, I want these to be pleasing to handle, so with my trusty emery board nail file (yes, the cardboard kind you buy in a package at the drugstore or the beauty supply store), I softened the edges and corners, and removed extraneous lumps.
Before:
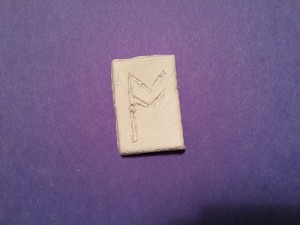
A minute with the emery board, and we have:
Since some of the runes were not fully dry, they were soft in the center. This worked well in a few cases where I wasn’t entirely pleased with the shape of the rune incision, so I took advantage of the moment to make the shapes more exact. For the others, though, this required careful handling not to bend the rune out of shape. I probably should have left well enough alone for another 24 hours to let them completely dry. On the other hand, a few really needed to be reshaped, so I’m just as glad to have done this all tonight.
Tonight’s smoothing and polishing took just under an hour, bringing the total project time so far to three hours.
The next step is to paint the symbols. In theory, I will have time on Wednesday evening, so check back on Thursday for the next update!


